Bone broth – liquid gold fountain of youth

I recently posted a picture on our Facebook page of a large pot of bone broth and received lots of questions.   Here are a few answers.

Bone broth is a nutrient, mineral and collagen rich broth that has a long list of health and beauty benefits.  To name a few – it aids in joint health, digestion,  building the immune system and is great for hair, skin and nails.  A cup a day in cooking or just to sip warm out of a mug is recommended.

Bone broth with rosemary and pink salt

Here is how I make mine.  (Note: you can use any kind of roasted bones for this broth.  I’ve tried it with beef, lamb and turkey as well)

Ingredients:

  • Roasted chicken (bones must be roasted for optimum benefits and taste)
  • Apple cider vinegar
  • Veggies (I use onions, carrots, celery, and garlic)
  • Bay leaves
  • Pepper corns
  • Salt
  • Chicken feet (cleaned, skinned and declawed, this is optional but they significantly increase the collagen)

Instructions:

  1. Roast a chicken for 75min at 350°F with salt/ pepper and whatever else we want to spice it with for dinner (last night I used it for onion chicken). 
  2. Pull off all the meat for dinner and put the bones in a large pot. Cover with cold water and 2 Tbls of apple cider vinegar and let it sit for 20 min. 
  3. While waiting prepare the veggies (I use onions, carrots, celery, and garlic). 
  4. Add veggies and throw in some bay leaves, pepper corns and salt. 
  5. If you also have the cleaned chicken feet throw them in there too (I know it sounds weird but the collagen boost is worth it!!). 
  6. Fill the pot with cool water and simmer on low for 12-24 hrs.  *Update* I now only use the crackpot for this recipe as it produces a richer more flavorful broth.  I start it on high for 6 hours and then let it run overnight on low for at least another 10hrs.
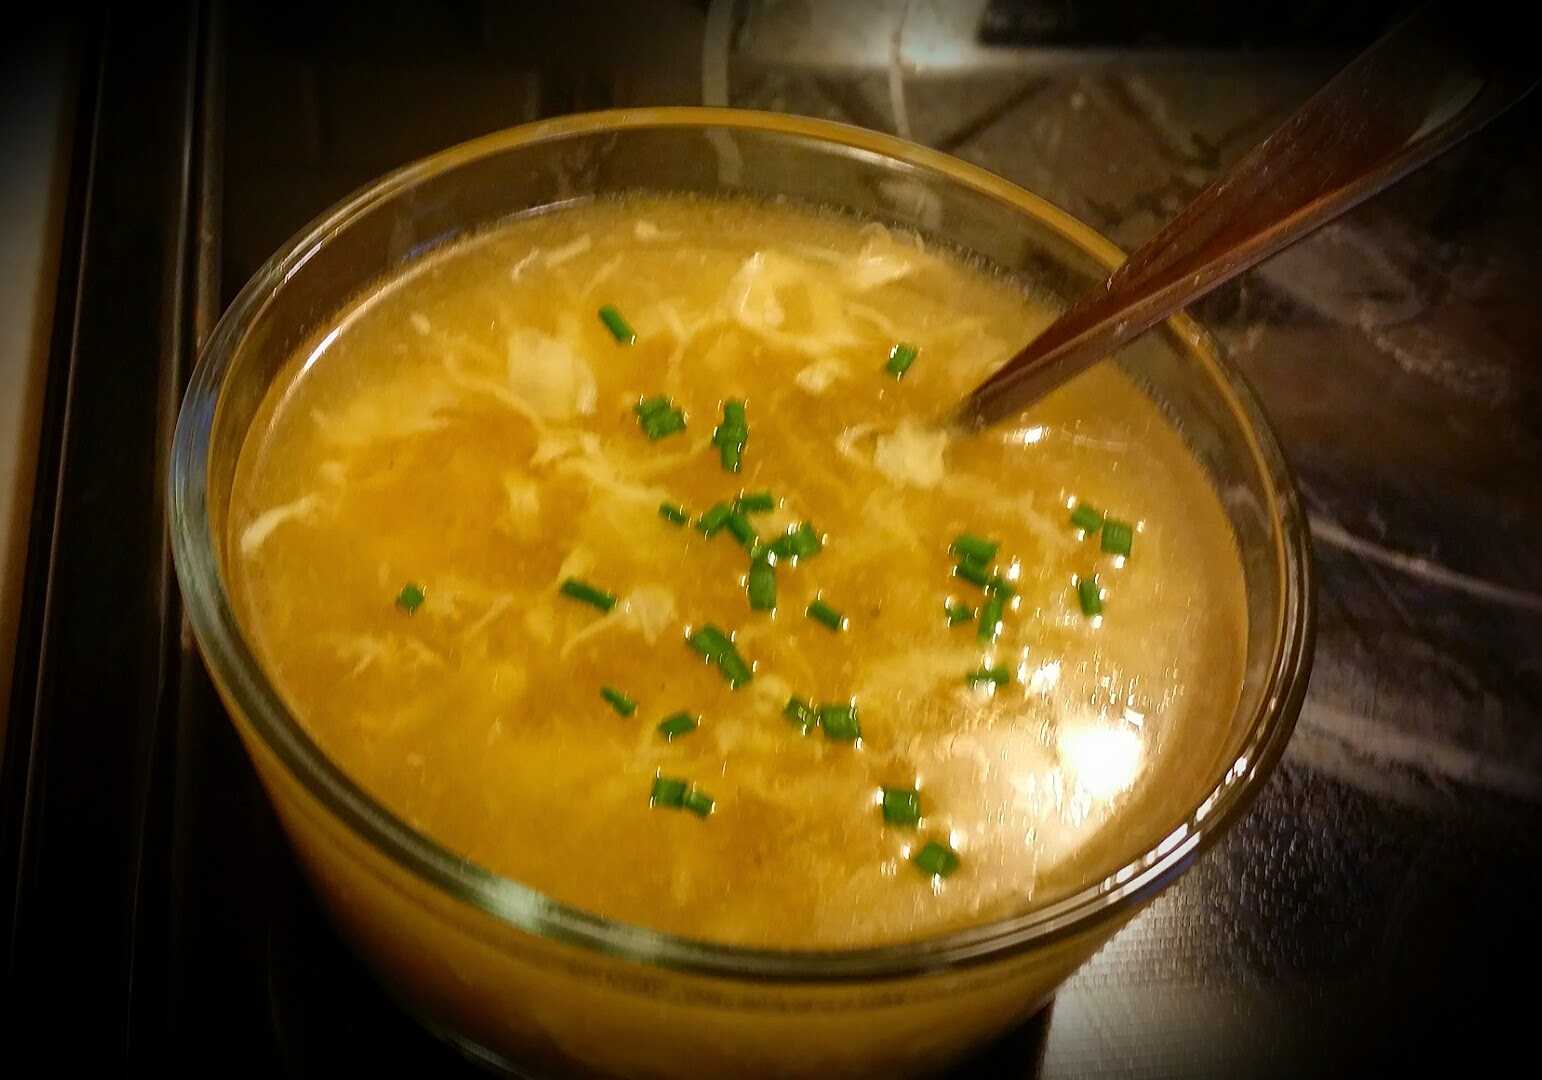
Large pot of bone broth that has been simmering for 16hrs 

After the broth is done cooking let cool and strain.  You can freeze, can and refrigerate this broth.  Consume one cup a day in cooking or just sip warm out of a mug.  Flavor with herbs, spices and salt/pepper when sipping it or using it in cooking.

Cheers to yummy health!

Super easy homemade nut butter

**To Pin this recipe for later use the “Pin it” button at the end of the instruction section**

Here is what you will need.

• Food processor or blender
• 2 cups unsalted roasted peanuts (or any other nut – almonds, cashews,  and hazelnuts all work well)
• 2 Tbls raw honey
• Pinch of salt (optional – can add more or omit to taste)

Put roasted nuts in the food processor and pulse until nuts are in small chuncks.  Add honey and salt then puree until smooth.

Yeah – I couldn’t believe it was that easy either!!  Enjoy 🙂

^^Click here to pin the recipe for later^^

How to ferment and save seeds

Seed fermenting 101

Last year I fermented some seeds as an experiment.  This year we planted those seeds and we’re BLOWN AWAY!  The seeds had a 100% germination rate – yes, every single one sprouted and produced a very healthy strong and beautiful plant!  Here is why, what and how to ferment.

*other great resources are at the bottom of this article*

Why ferment?
Fermenting wet seeds will remove the gel coating from the seed that prevent it from germinating.  It is also helps you weed out the non viable seeds.  Saving your own seeds will also strengthen the seeds year over year and get the seeds better acclimated to your environment.

What to ferment?
Wet seeds (such as tomato or squash) are the only candidates for fermentation.  Seeds that do not originate in a wet environment will naturally dry out for use in the following year.
Choose the best fruit from the strongest plant.  That will give you similar plants the following year.

How to ferment?
1) Select fruit from a healthy strong plant.  The fruit/veggie you select should be the best one on your plant – no imperfections if possible.

2)  Scoop or squeeze out the pulp and seeds.

3)  Place pulp and seeds in a jar.  Add filtered water, the ratio is one part pulp and seeds to three parts water.

4)  Place in a warm place with a loose lid.  The lid is only there to keep bugs out and the smell in.

5)  After a 5-7 days the viable seeds will sink and the bad seeds and most of the pulp will float.   Pour off the bad seeds and pulp that rose to the top (and any white film that may have formed).

6)  Rinse the remaining viable seeds .

7)  Place seeds on a flour sack cloth or paper towel to dry compleatly. (1-2 days)

8)  Store seeds in dark paper envelope labeled with the seed name/type and year.  Store in a cool dry place for next season.

Other great resources:
Seed to seed (book)
I will add more to this list as I find them!

*Note: I am a participant of the Amazon.com associates program.  This is an affiliate advertising program designed to provide a means for sites to earn advertising fees by advertising and linking to amazon.com.  I have personally purchased or researched all of the products linked and will not suggest a product otherwise.  By purchasing through these links you support this Mini Slice of Farm blog without any extra cost to you and allow us to continue posting great content for you.  Thank you for your support!!

Veggie lo mein with homemade noodles

Our Chinese NON-take out veggie lo mein was kicked up a notch with homemade noodles.

Here is the recipe:

Noodles:
1 Cup semolina flour
1 Cup all purpose flour
2 large eggs
1/2 teaspoon salt
Water (if needed to get the proper consistency)

Lo mein:
1 lb snow peas
2 cups of shredded cabbage
2 tablespoons freshly grated grated
4-5 cloves garlic chopped
3 tablespoons vegetable oil
2 tablespoons soy sauce
Bean sprouts (optional)
Sesame oil (optional)

To make the noodles mix the two cups of flour with the salt.  Add the eggs and knead into a dough.  If the dough is too dry add a little bit of water knead it in.

If you have a pasta roller run the noodles through the press on the highest setting 10 times, (folding over the noodle and running it through again).  Then decrease the setting by one notch and run the dough through again.  Repeat until you reach the desired thickness.   Then run the dough through the spaghetti cutter.

If you don’t have a pasta roller you can roll the noodles out using a rolling pin.  When you get the dough to the desired thickness flour the dough and roll it.  You can then cut the roll into thin disks and unroll it.   It will unroll into noodles.

Boil noodles until al dente.  (This will only take a few minutes so don’t walk away!)

For the lo mein:
Place a pan or wok on high heat.  In the hot pan or wok, add vegetable oil. It will smoke lightly.  Add the peas, and toss for 1 minute. Add the garlic and ginger then toss for 1 minute.  Add the rest of the vegetables, noodles, and soy sauce.  Toss for 2 minutes.  Quickly remove the mixture from the pan and place it in a serving dish.  Drizzle sesame oil over the hot lo mein for garnish.

This entire process took less than 20 minutes!!  Hope you love it as much as we did.

Homemade egg drop soup

We had Chinese NON-take out night the other night.  Here is a simple recipe we used for egg drop soup.

2 Cups chicken broth
1 tablespoon soy sauce
salt/pepper to taste
2 large eggs
chives for garnish

In a saucepan bring the chicken broth to a light simmer.  Add soy sauce and salt/pepper to taste.  In a separate cup whisk the eggs.  Stir the soup into slow vortex and slowly drizzle in the eggs.

Let the soup simmer for another few minutes and it is ready to serve.   Add chopped fresh chives to garnish.

“Fraked” chicken recipe

“Fraked” is a word we made up here on the farm to describe the perfect way to make fried chicken … fry and bake it at the same time!!

Ingredients:

2-3 lbs Chicken pieces (however you like them – bone in or boneless,  skin or skinless)
2 large eggs
1/4 cup heavy cream
2 cups Flour
Panko (or Bread crumbs)
Salt and pepper to taste
Optional seasonings: Paprika, thyme (or poultry herb blend),  garlic powder, onion powder
Frying oil (canola or vegetable)
Roasting pan

Place all the chicken pieces on a cookie sheet and season well on both sides (I used all the optional seasonings listed but a simple salt and paper works well too).

In a flat bowl (something you can easily dip the chicken into) whisk the eggs and heavy cream together and set aside.

Now it’s time to assemble the “breading station”.  Make sure the bowls you use are flat enough to dip the chicken into.  It will look like an assembly line in this order:

Seasoned chicken –> Flour bowl –> Egg mixture bowl –> Panko bowl –> Clean cookie sheet

Working your way through the the line, pick up the chicken and dust it in the flour (both sides).  Shake of excess and dip it in the egg mixture,  let excess drip for a second and place in panko.  Place breaded chicken on cookie sheet.  Once breaded it is time to “Frake” the chicken.  The longer you let the breaded chicken rest the easier it is to fry it without loosing all the breading.  (I try to prepare the chicken in the morning and let it rest in the refrigerator before I fry it for a Saturday lunch but most days I only have 30 min to let it sit while I make the side dishes!)

Fill a high sided roasting pan with 1 inch frying oil.  Place in the oven at 450°F.  When the oil has reached 350° gently place the chicken in the oil and close the oven.

Flip once half way through cooking.   When chicken reaches 170°F pull it out of the oil and place it on a cooling rack to drain and cool slightly.

Use caution when working with hot oil – I used long heavy tongs to handle the meat.

And that’s oven Fraked chicken … I hope you love it as much as we do!!

A Year supply of laundry detergent for under $13.00 and 5 minutes!!

It takes less than $13.00 and 5 minutes to make a batch of laundry detergent that will last you 12 months (240 loads of laundry).

I find it easier to mix a 6 month supply at a time … so here is what you will need for a 120 load supply:

4lb box of Borax
3lb 7oz box of washing soda
1 Fals-naptha bar
Cheese grater

Instructions:
In a large bucket with a lid (I use a 3 gallon) pour in washing soda and borax. Grate the Naptha bar into the bucket (it is MUCH easier to grate it using the rotating grater pictured below). Put the lid on tightly and shake to combine.

That’s it … you now have very effective laundry detergent for 6 months and it cost you less than $6.50 to make it!!

Use 2 Tablespoons per load of laundry.

Clean your microwave using lemon scraps!

Clean your microwave the easy, chemical free way!

We use LOTS of lemons around here!!  A great way to use leftover lemon rinds is to clean the microwave.

Fill a heat resistant glass container with water and the lemon rind.  Microwave on high for 8 min.  Leave the microwave door closed for another 2 minutes giving the steam time to work the baked on gunk loose.  Wipe down with clean towel … it’ll come right off!!

Before:

After:

Once you try it, it’ll be the only way you clean your microwave … at least that’s what happened at our house 🙂

Farmer J’s perfect strawberry lemonade!

The perfect strawberry lemonade!

My hubby makes the BEST fresh lemonade.   When we had an abundance of strawberries I decided to add pureed strawberries to his recipe.  It was delicious!!  Here is the recipe …

Ingredients:
4 washed medium-sized organic lemons (halved)
1/2 cup sugar
1 cup of warm water
2 cups of pureed strawberries
Ice
Filtered water

In a 2.5 quart jug squeeze the lemon halves and drop the rind in the jug with the lemon juice.  Mix the sugar and warm water together until completely dissolved and add mixture to jug.
Add pureed strawberries and stir the mixture.
Then fill the jug with ice and add filtered water.  Stir mixture again and serve.

Gooey Cinnamon rolls using natural yeast

**To Pin this recipe for later use the “Pin it” button at the end of the instruction section**

Gooey Cinnimon Rolls Using Natural Yeast

Now that we have this lifetime supply of FREE yeasthomemade vanilla extract and easy to make cream cheese what are we going to do with all of it … well I’m a sucker for a gooey fluffy cinnamon roll so let’s do that first!


Subscribe to our YouTube channel and follow us on social media!! 

 https://www.youtube.com/channel/UCvWq9EZRYx6MB6ty5m44c5w                                      


Gooey Cinnamon rolls using natural yeast


INGREDIENTS
  • 2 cups Whole Milk
  • ½ cup Butter
  • ½ cup Sugar
  • ½ cup yeast starter (find out how to make it here)
  • 4 cups All-purpose Flour + 1 Cup
  • ½ teaspoon Baking Powder
  • ½ teaspoon Baking Soda
  • ½ Tablespoon Salt
FILLING
  • 2 Tabelspoons Butter (melted)
  • 1 cup packed brown sugar
  • 2 Tablespoons cinnamon 
  • 1 teaspoon cloves
  • ½ teaspoon nutmeg
CREAM CHEESE FROSTING:
Mix Whole Milk, butter, and Sugar in a pan. Bring to a 180°F. (You are just scalding the milk here. If you boil it you went too far, it will curdle the milk.) Remove from the heat and let it cool until warm (110°F).


Bringing milk mixture up to 180°F

Getting the natural yeast ready while waiting for milk mixture to cool to 110°F

Put mixture in a mixing bowl and add the natural Yeast starter.  (I now switched to my stand mixer and used a dough hook but you can stick with the mixing bowl and spatula if you don’t have one).  Add 4 cups flour, Baking Powder, Baking Soda, and Salt.  This mixture will be very sticky, that’s normal.  Cover the bowl (I used a glass pot lid) that let rise for 6-12 hours (until doubled). After it has risen, turn out to a floured surface and add 1 more cup flour while kneading it all in.

Combine filling mixture and set aside.

Adding cloves and nutmeg to the classic brown sugar and cinnamon mixture.
Roll dough into into a rectangle.  Cover with a thin layer of melted butter, sprinkle liberally with filling mixture.

Starting with the long side away from you, roll the dough up towards you. Fold the dough up and close the roll by pinching it together.


Now take a pastry cutter (or a sharp knife) and cut the roll in half.  Then cut the right half in half, and those 2 pieces in half until you have 4 equal pieces.  Repeat on the left half.  You will end up with 8 equal pieces. 


Place them in a greased pan without touching each other (giving them plenty of room to rise). 

Cover and let them rise about 1-2 hours (until they fill the pan).


and put them into the oven at 400 for about 15 minutes. 


Remove and cover with frosting!

Enjoy!!!

^^To pin this for later click here^^