How to make butter in less than 60 seconds

We had a little fun on our snow day yesterday and made some butter.  Here is how we did it πŸ™‚


Ingredients:

  • Heavy whipping cream (you can make this with as little or as much as you like as long as the whisk can reach the cream to whip it)
  • Mixer

Instructions:

  1. Pour heavy cream into mixing bowl.
  2. Slowly bring the mixer to high speed (so it doesn’t splash everywhere)
  3. Let it go until the butter separates from the buttermilk (it will splatter, see video)
  4. Press out the liquid and drain.
  5. Rinse butter with sold water until water is clear.
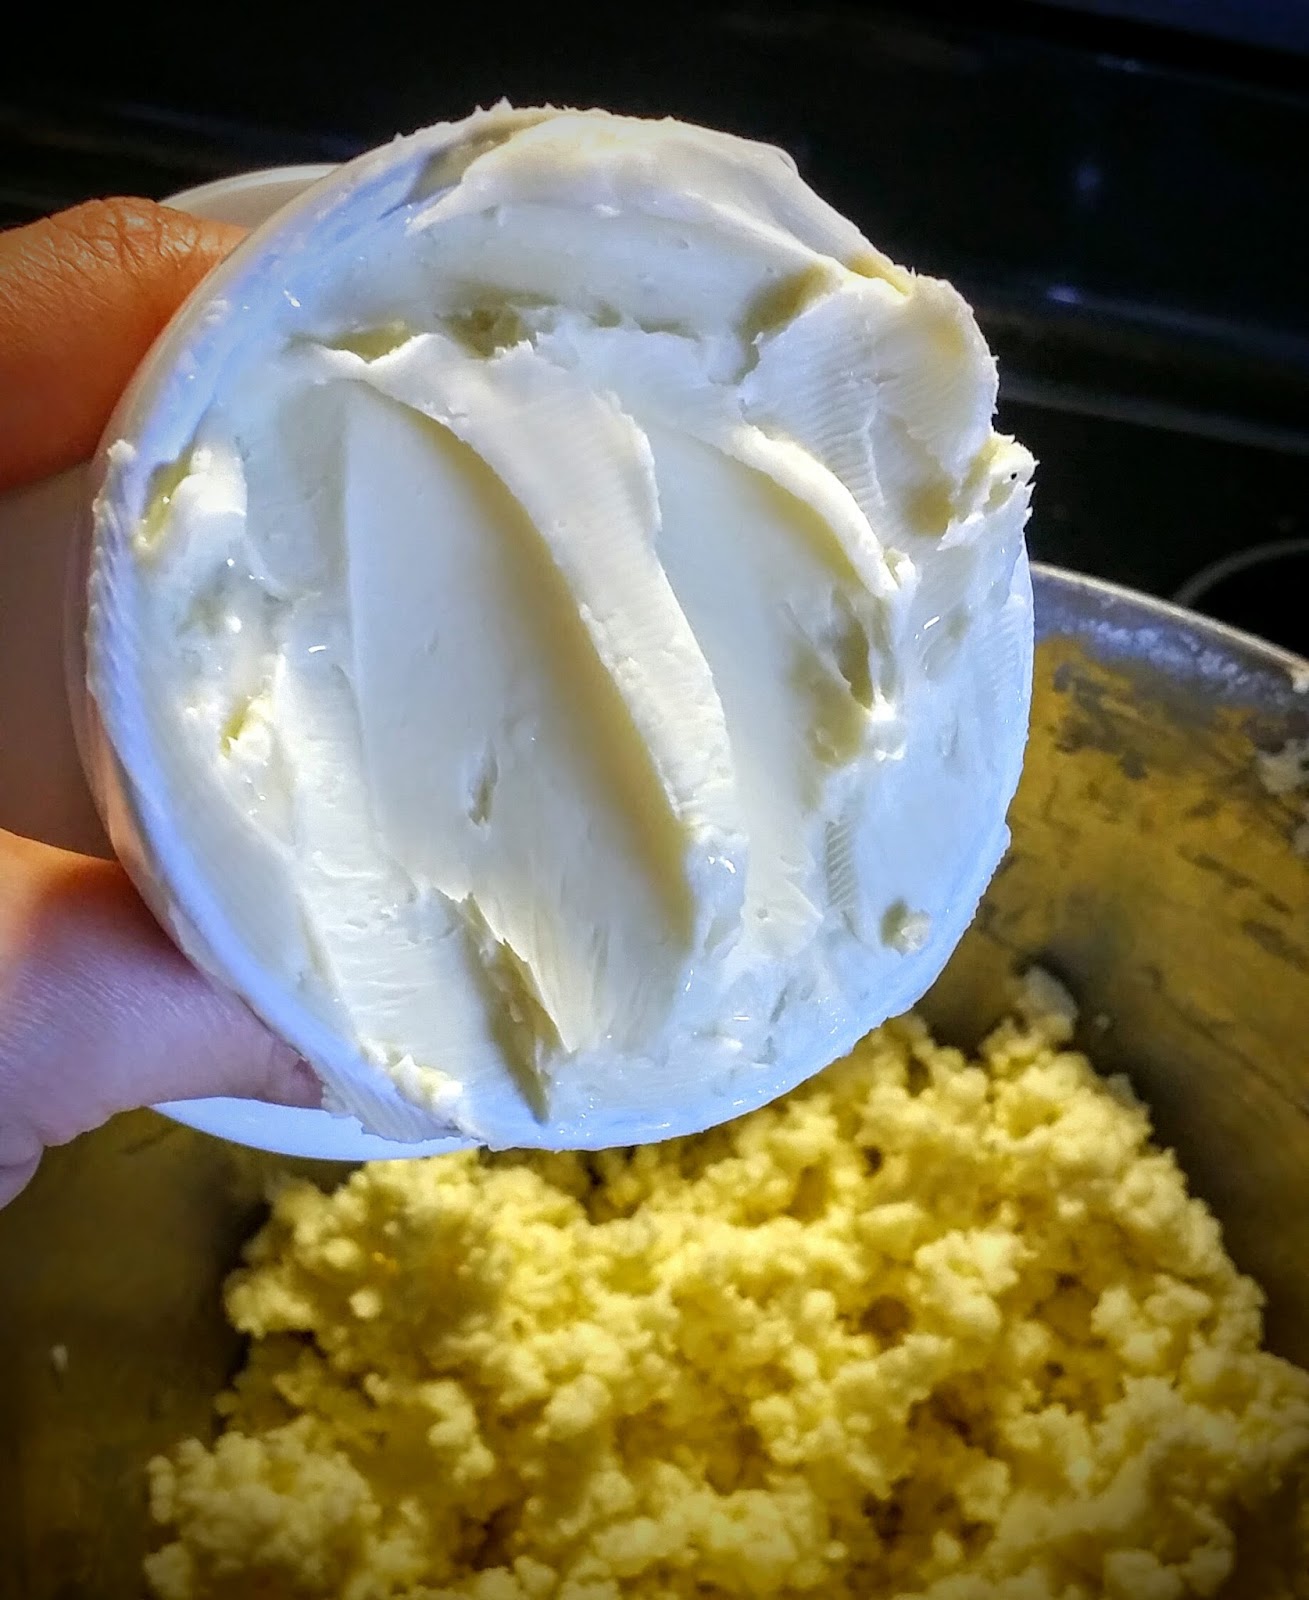
  6. Press into a butterbell or container of your choice.


*Note: I am a participant of the Amazon.com associates program.  This is an affiliate advertising program designed to provide a means for sites to earn advertising fees by advertising and linking to amazon.com.  I have personally purchased or researched all of the products linked and will not suggest a product otherwise.  By purchasing through these links you support this Mini Slice of Farm blog without any extra cost to you and allow us to continue posting great content for you.  Thank you for your support!!


Homegrown Turkey Meatballs

Our free ranged turkeys did really well this year.  They were very low maintenance, and lived off the pasture so didn’t cost us much to maintain.  They also gave us lots of fresh meat …

… here is one of the ways we used the meat for appetizers, Meatballs with a gravy dipping sauce.  These will work in a tomato sauce over pasta as a main course too!  Enjoy πŸ™‚


Ingredients:
2 lbs ground turkey
1/2 medium sweet onion
5 cloves garlic
3/4 cup Italian bread crumbs
1 egg
1 TBS dry sage (or 2 TBS fresh)
1 tsp fresh rosemary
1 tsp fresh thyme
1 tsp salt
1 tsp pepper

Instructions:
Mince the onion and garlic (I run them through the grinder with the turkey).
Finely chop the sage, rosemary and thyme.

Combine all ingredients in a bowl and mix with hands until well incorporated.

Preheat cast iron skillet to 350 degrees. 
Add a small amount of oil to the pan, just enough to coat the bottom. 
Form 1 to 1-1/4 inch meatballs lightly packed and place in hot skillet (don’t overcrowd). 
Cook for about 2 minutes, or until browned and turn over to brown other side. 
Move browned meatballs to a baking dish and finish in a 350 degree oven for 25-30 minutes or until cooked through (165 degrees internal). 


To serve as appetizers add a dipping gravy (recipe can be found here).    


*Note: I am a participant of the Amazon.com associates program.  This is an affiliate advertising program designed to provide a means for sites to earn advertising fees by advertising and linking to amazon.com.  I have personally purchased or researched all of the products linked and will not suggest a product otherwise.  By purchasing through these links you support this Mini Slice of Farm blog without any extra cost to you and allow us to continue posting great content for you.  Thank you for your support!!


Turkey Gravy dipping sauce

This delicious gravy pairs very well as a dipping sauce for our homegrown meatballs.  

You can easily use this as a pour over gravy for potatoes and roast turkey by adding a little more broth to thin it out.  Hope you love it as much as we do!! Enjoy πŸ™‚


Ingredients:

2 TBS butter
2 TBS flour
2-3 cups of broth (you can find the recipe to make your own here)
Β½ tps rosemary
Β½ tsp thyme
Salt and pepper to taste

Instructions:
Melt the butter in a saucepan over medium-high heat. 
Add the flour and whisk for 1 minute. 
Whisk in broth, enough to make the gravy a little thinner than you would like it to end up. 
Add the spices and bring down to a simmer. 
Allow to simmer 5 minutes.  Thin with a little more broth if needed. 

Pore into the middle of a decorative serving dish (I use this multi-use serving stand on a daily basis) and arrange the meatballs around the sauce.  

*Note: I am a participant of the Amazon.com associates program.  This is an affiliate advertising program designed to provide a means for sites to earn advertising fees by advertising and linking to amazon.com.  I have personally purchased or researched all of the products linked and will not suggest a product otherwise.  By purchasing through these links you support this Mini Slice of Farm blog without any extra cost to you and allow us to continue posting great content for you.  Thank you for your support!!

How I use kitchen scraps to scrub away cellulite and dry skin!!

Winter always brings on dry skin – everywhere!  I have a go-to body scrub that I use all year long that is hands down better than anything you can get at the store … and it uses kitchen scraps.  
Bonus, it SIGNIFICANTLY reduces cellulite (trust me … when Farmer J notices it MUST be good haha)
Warning: Do not use this scrub before bed!!   Your skin will absorb the caffeine and you will get the same energy kick you get from a strong cup of coffee.

What you will need:
1/4 Cup used coffee grounds
1/3 Cup coconut oil
Fork to mix
Lightly warm up the coconut oil so you can mix in the coffee grounds easily (I use thisglass Pyrex measuring cup and a fork to mix and keep beside the shower.)  Add the coffee ground and mix until the ingredients are fully incorporated and set aside to cool.  When ready to use, scoop out a large spoonful and lightly scrub, concentrating on areas that tend to have more cellulite (I do this in the shower because it can get messy).  Leave the scrub on for about 3 minutes and rinse off with warm water.   Skin will feel smooth and moisturized. 
I do this at least twice a week.


*Note: I am a participant of the Amazon.com associates program.  This is an affiliate advertising program designed to provide a means for sites to earn advertising fees by advertising and linking to amazon.com.  I have personally purchased or researched all of the products linked and will not suggest a product otherwise.  By purchasing through these links you support this Mini Slice of Farm blog without any extra cost to you and allow us to continue posting great content for you.  Thank you for your support!!

The BEST Lemon and Vanilla extracts!!!

I gave away all of my Lemon and Vanilla extracts for Christmas this year so it’s time to make more!  I found a great deal on these beautiful glass bottles (here)*, so I’ll be making THREE of each this time … don’t want to run out again πŸ™‚

Below are the recipes for both the Lemon and Vanilla extracts.  I hope you enjoy them as much as we have!!

Lemon extract:

  • Zest of 3 medium organic lemons
  • 2Tbs filtered water
  • 16 oz glass bottle 
  • Vodka

Add the zest and water to the bottle, then fill the rest with Vodka and seal the top. Shake to combine. Let steep for 6 months shaking occasionally.

Vanilla extract:

  • 2 large vanilla beans
  • 2Tbs filtered water
  • 16 oz bottle
  • Bourbon whiskey

Slice the vanilla beans open along the length of the bean. Using the back of the knife, scrape out the vanilla bean caviar. Put both the bean and caviar in the bottle. Add the water and enough bourbon to fill the bottle.  Seal and shake to combine. Let steep for 6 months shaking occasionally.

Side comment for the vanilla extract.  The first time I made vanilla a few years ago I made two different batches.  One with vodka the other with bourbon, the bourbon was delicious and made wonderful baked goods, ice creams and flavored coffees.  The vodka vanilla however, was mediocre at best and was not worth the effort.  


*Note: I am a participant of the Amazon.com associates program.  This is an affiliate advertising program designed to provide a means for sites to earn advertising fees by advertising and linking to amazon.com.  I have personally purchased or researched all of the products linked and will not suggest a product otherwise.  By purchasing through these links you support this Mini Slice of Farm blog without any extra cost to you and allow us to continue posting great content for you.  Thank you for your support!!

Easy homemade cream of anything sauce … no can opener needed ;)


Ingredients

1Cup of the broth
2Tbs butter
2Tbs flour
Salt and pepper to taste
1/4tsp dill (optional – but really makes it extra yummy)
Heavy cream (optional)
Melt the butter on med/low heat and whisk in the flour.  Let it cook for about 2min. 
Add in Β½ of the broth while continuing to whisk, be careful because it will bubble up.  It will clump up initially but continue to whisk and it will get creamy and thicken up.  Once you have removed all the lumps, add the rest of the broth and whisk until it is at the desired thickness.  Whisk in the dill and CAREFULLY taste the sauce (it will be hot!).  Add salt and pepper to taste.  Finally, whisk in a splash (about ΒΌ cup) of cream for a richer flavor.

Light and fluffy natural yeast sandwich bread

Natural yeast sandwich bread

This is my go to sandwich bread recipe 2 times a week!

Ingredients:
2 3/4 C flour + 1 1/4 C flour

2 tsp salt
1 C warm milk
2 Tb unsalted butter, melted
3 Tb honey
1/2 Cup natural yeast 
(more info on natural yeast can be found here )

1.  Mix 2 3/4 C of the flour and the salt in the bowl of a standing mixer fitted with a dough hook.  Mix the milk, butter, and honey in separate bowl.  Pour mixture into the 1/2 cup of natural yeast and mix until all the ingredients are well incorporated.  Turn the machine on low and add the liquid.  When the dough comes together, increase the speed to medium and mix for 5 minutes.  If the dough is still sticking to the sides of the bowl, add the remaining flour, one 1/8 cup at a time until the dough no longer sticks (you might not use all of the flour – it all depends on the humidity level in your home at the time).  Continue to mix until the dough is smooth and satiny, about 5 more minutes.
2.  Form dough into a ball, place in lightly oiled bowl, cover and allow to rise until double, (usually overnight in a warm place).  Punch out the air and form into a loaf. Place in a greased loaf pan, seam side down, cover and allow to rise until double, about 2 hours.
3.  Bake at 350Β°F for 35-40 minutes until golden brown all over and internal temperature is 180Β°F.  Remove bread from the pan, transfer to a wire rack and cool for at least 15 min before slicing.

Sweet peach candy fruit rolls – only one ingredient!

Ingredients:
Peaches … yep that’s it!!

The secret is to roast the peaches to release their natural sugars before dehydrating them.  Here is how to do it:

  1. Preheat oven to 375.  
  2. Slice peaches in half and remove pit.  Place peach halves pit side up in a glass baking dish.  Bake for 15min.  
  3. Switch the oven to broil.  Move the peaches under the broiler to roast for another 10 min (monitor peaches so they don’t burn – just looking for a light browning.)
  4. Carefully remove the roasted peaches from the oven and let rest for 10 min.  (The pit cavity might fill with peach juices 
  5. Puree the peaches in a food processor or blender until smooth.  
  6. Spread the puree onto a dehydrator tray that has the fruit leather liner (smaller holes so the puree will not fall through).  use an offset spatula or the back of a spoon to smooth out the puree into an even layer (about 1/4 inch in thickness). 
  7. Set the dehydrator to 140Β°F and allow the fruit to dry for 8 to 10 hours.
  8. Peel the fruit leather off of the tray and slice long strips with a pizza cutter.
  9. Roll strips and place in an airtight container for storage.

Fire roasted tomatoes and easy tomato paste

Roasted Tomatoes

Roasting vegetables and fruit is a great way to bring out their naturally rich flavors.  Roasting tomatoes before adding them to a sauce or hot dish will intensify the flavors and take that sauce to a new level.  Here are three ways to roast tomatoes, and how to make a tomato paste from the roasted tomatoes. 


1 – Grill them…  Place the tomato right on the grate or in a grill basket.  When the tomato skin gets slightly charred flip the tomato to the opposite side and repeat.  This method will give you the most flavor and will add a slight smokiness to the tomato.
2 – Broil them …  Arrange the tomatoes in a single layer on a cast iron pan or heavy cookie sheet.  Place the pan directly under the broiling flames or heating element.  Keep a close eye on them because this will only take a few minutes.  When the first side is slightly charred flip the tomatoes and repeat.
3- Sear them … heat a heavy duty skillet or dutch oven to medium high heat.  Once the pan is hot add medium sized tomatoes.  Toss the tomatoes around with a spoon until desired char level is reached on the tomato’s skin.
Quick and easy fire roasted tomato paste
This paste uses the sear method mentioned above.  
  • After the tomatoes have reached the desired char level turn down the heat to medium.  
  • Use a potato masher to smash each tomato.  
  • Add a pinch of salt and stir the tomatoes until the desired consistency is reached.  
  • Add 1/8 cup of cold water and stir for a few seconds – then remove the pan from the heat.  Stir the paste to incorporate all the “flavor” on the bottom of the pan.  

This paste can be used right away, canned or stored in the freezer (ice cube trays are a great way to freeze them).

*Note: I am a participant of the Amazon.com associates program.  This is an affiliate advertising program designed to provide a means for sites to earn advertising fees by advertising and linking to amazon.com.  I have personally purchased or researched all of the products linked and will not suggest a product otherwise.  By purchasing through these links you support this Mini Slice of Farm blog without any extra cost to you and allow us to continue posting great content for you.  Thank you for your support!!