Canning green beans the easy way!

Farmer J is always talking about his mamma’s canned green beans.  For him that flavor brings him right back to his childhood.  When we started canning we processed ours exactly how she did … I was blown away by how beautiful they were and the delicious fresh flavor!

Here is how to do it:

  1. Wash and snap your green beans.
  2. Raw pack the green beans in sanitized one quart jars.
  3. Add one teaspoon of salt to each jar.
  4. Pour boiling water over the green beans leaving one inch head space.
  5. Remove the bubbles from the jar by running a spatula or butter knife along the inside wall of the jars.
  6. Add sanitized lids and rings then tighten finger tight.
  7. Pressure can the jars 10lbs for 25min.  *adjust the weight for your altitude if needed*
  8. Use caution when removing the jars from the pressure canner as they are HOT!
  9. Allow to cool completely before labeling and store in a cool dark place.
Let us know in the comments below if you would like some of our green bean recipes!!

Meatloaf chili leftover upgrade

We loooove leftover upgrade nights.  They are packed full of flavor and usually a delicious treat that technically took days to make but takes little to no effort.

From our “Bring dinner home again” post you know we do themed nights once a week.  A few nights ago we did an “Alice in Wonderland” themed dinner.  We had Queen of Hearts meatloaf, White Rabbit’s roasted carrots, and Card Soldiers salad.  Let me know in the comments or on our Facebook page if you would like a more detailed post about our Alice in Wonderland dinner menu!  

It was delicious, and we had enough meatloaf leftover to make chili!!  
Here is how.

Ingredients:

Instructions:

  1. Put dried beans in pot with one 4 cups water.  Bring to a boil then reduce the heat to simmer and cover for one hour. (you can do this the night before)  
  2. Toss the rest of the ingredients in the crock pot on low.
  3. when the beans are tender (after about on hour) drain and add them add them to the crock-pot.  
  4. Cook on low for 3-4 hours.  
  5. Ladle into bowls and garnish with sour cream, diced red onion, fresh cilantro, chives and/or cheddar cheese.  
*Note: I am a participant of the Amazon.com associates program.  This is an affiliate advertising program designed to provide a means for sites to earn advertising fees by advertising and linking to amazon.com.  I have personally purchased or researched all of the products linked and will not suggest a product otherwise.  By purchasing through these links you support this Mini Slice of Farm blog without any extra cost to you and allow us to continue posting great content for you.  Thank you for your support!! 

Bring dinner home again!!

Going out to eat can quickly become a 3-4 night a week event.  Whether it’s a quick drive through dinner because of evening activities or a sit down because it’s been a long day, it can easily add up!

A few reasons we only go out on very special occasions …

  1. Financial – We can easily spend on one meal what we would spend on 2 weeks worth of groceries.
  2. Quality of food – When we cook at home we can control every ingredient of our meal and prepare it exactly how we like it.
  3. QUALITY time with family – When we are at a restaurant we are surrounded by noise and interruptions.  The kids don’t tell us as much about their day in a public setting with all the other activities around us competing for their attention.
  4. Teaching opportunities – Children can learn some incredible life skills in the home kitchen.  Communication, math, reading, self sufficiency, team work … the list goes on and on! 
But most of us know all of that already … the real question is HOW can we do it every night??  Over the years we have added a few fun activities to our dinner time routine that have really made it more enjoyable and exciting for us to stay in and eat at home.  Here are our tips and tricks on reducing/eliminating restaurant visits:
Sports and activities night
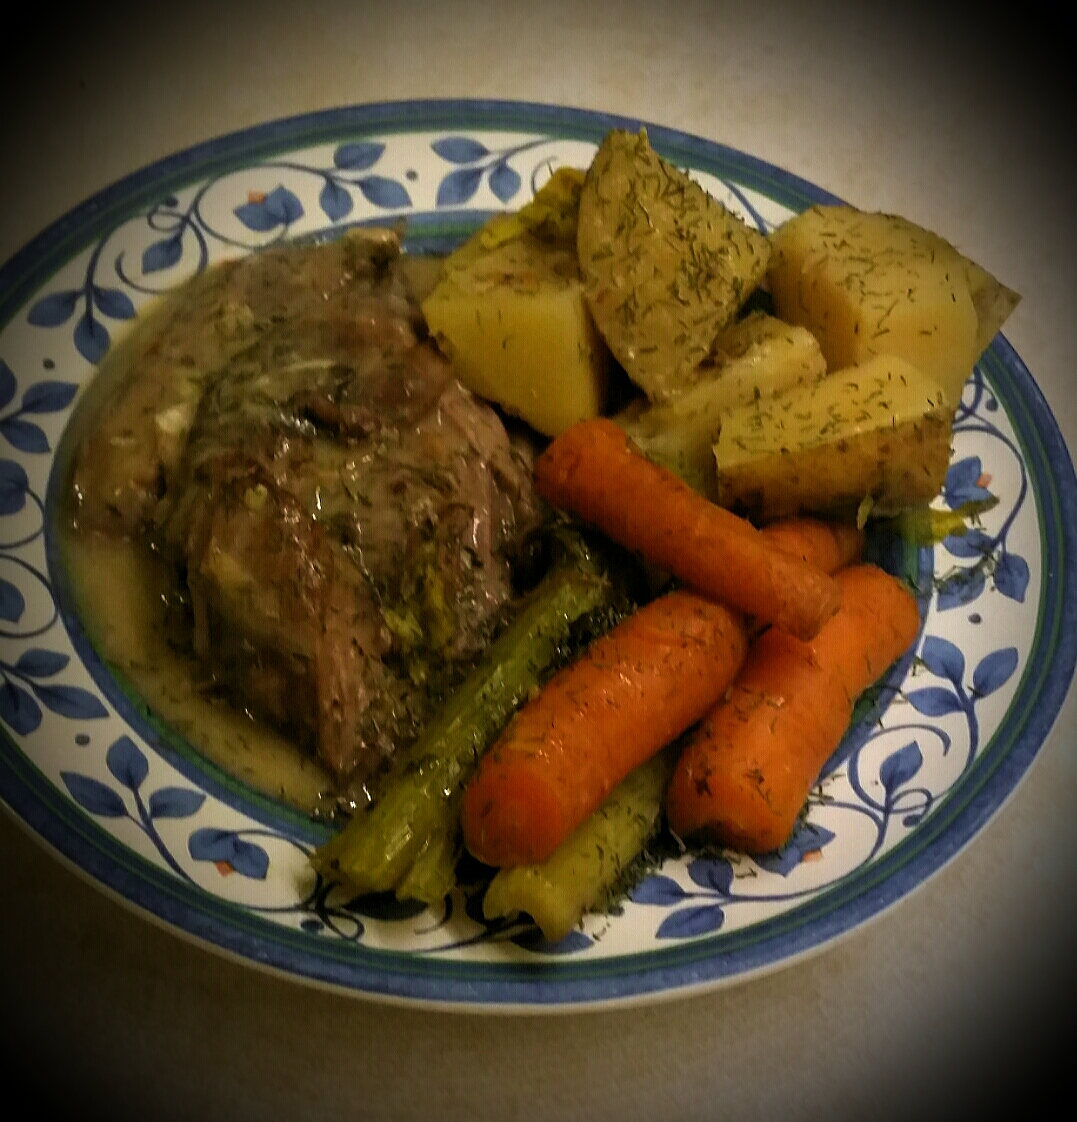
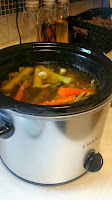
Event nights are crock pot nights.  We currently have one day a week that is jam packed full of activities and sports.  That night is crock pot night.  Sundays (our free day) I prep everything needed for one crock pot night.  I have a recurring reminder set on my phone for that busy morning.  It alerts me to throw everything into the crock pot and turn it on.  When we come home that evening dinner is ready.     


Interactive theme nights

Kid’s choice
We have two theme nights every week.  The first is a kids choice (big kids aka farmer J, get to pick too.)  We take turns choosing a theme for that day on Saturday before we hit the grocery store.  We then come up with a fun menu for that night.  Some examples are under the sea mermaid night (my daughter picks this one often, so this is usually our sea food night), race car drive-up diner night (burgers/fries),  and Tarzan jungle night (finger food without utensils).  We find a Pandora station that fits the theme and play it while we prep the food and dinner table.
Italian
We have one Italian night a week.  This is a fixed night every week (example every Wednesday).  We do this so the kids know exactly what to expect every Wednesday and they look forward to this day every week.  On those nights the kids help make pizza, homemade pasta, lasagna, meatballs … anything interactive.  The Pandora station for this night is “Italian Traditional Radio”.  

Family movie fun night.
Fridays are family movie fun nights.  We make appetizers, snacks, and a big bowl of air popped popcorn for dinner.  We lay out a picnic blanket and have dinner in front of a movie.


UN-Takeout night
There are lots of foods that are easy to pick up on the way home from work.  They are surprisingly just as easy to make at home.  Here is an example of Chinese UN-Takeout night Veggie lo mein with homemade noodles (recipe here) and Egg drop soup (recipe here.)


 Leftover buffet and surprise soup night
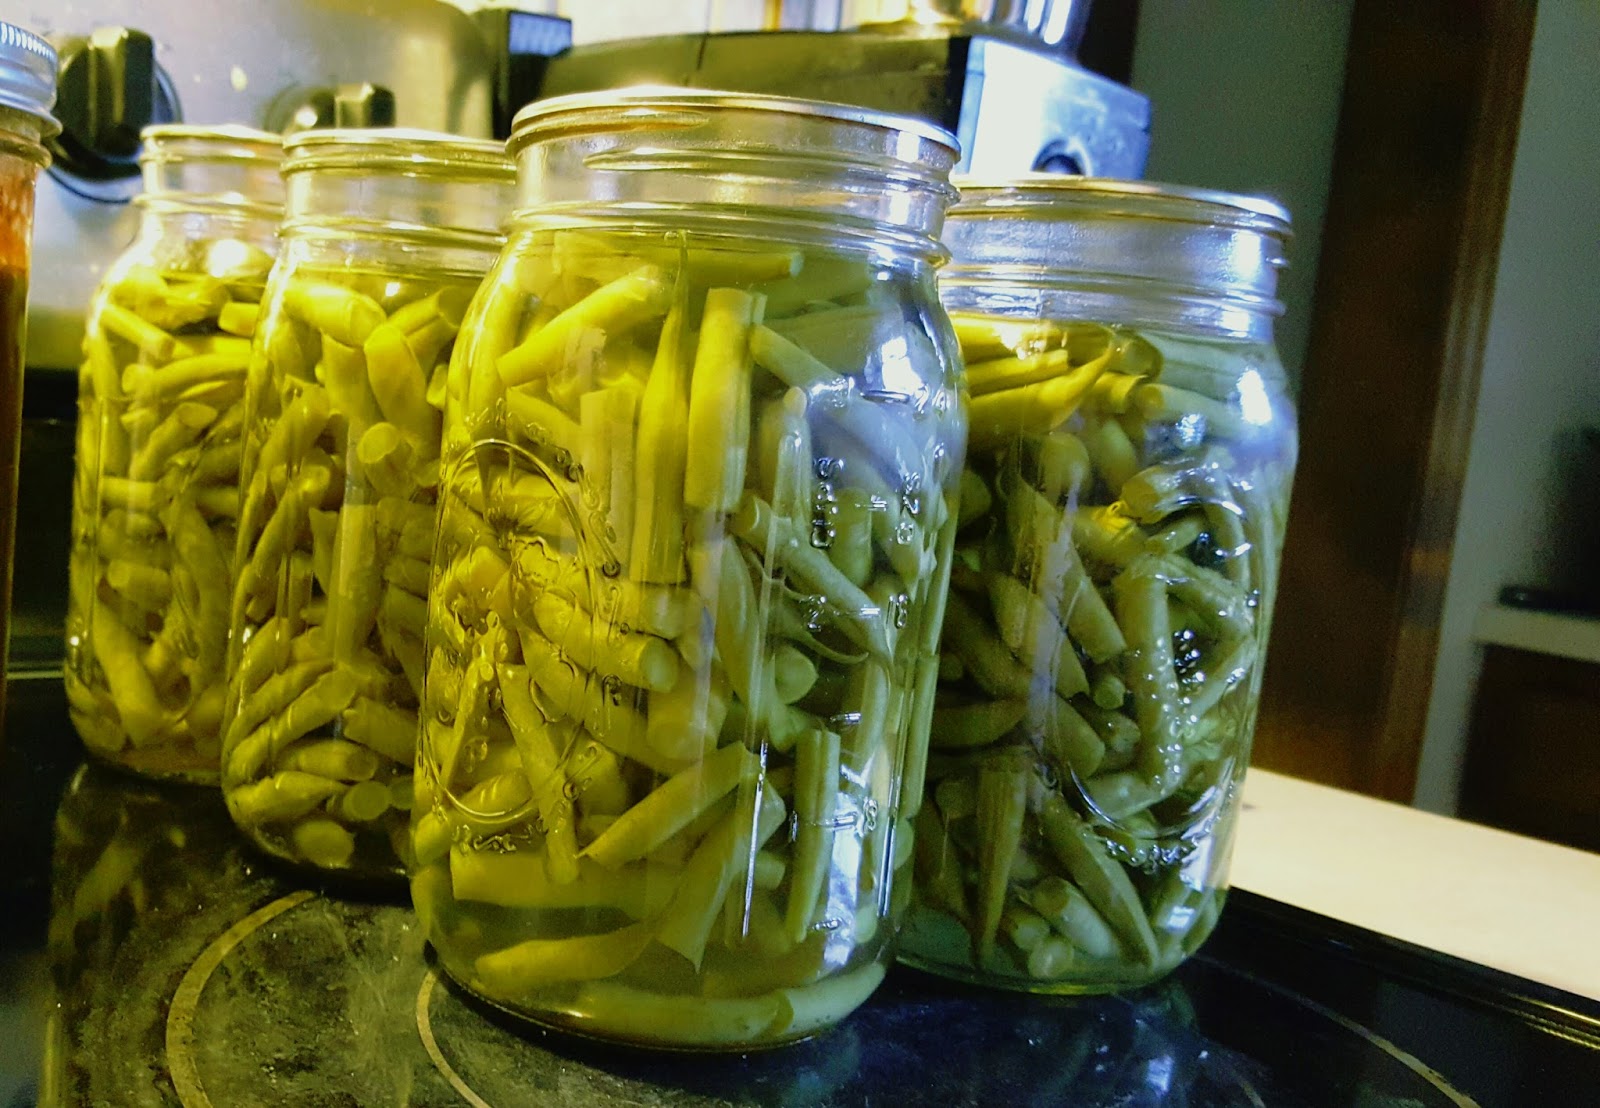
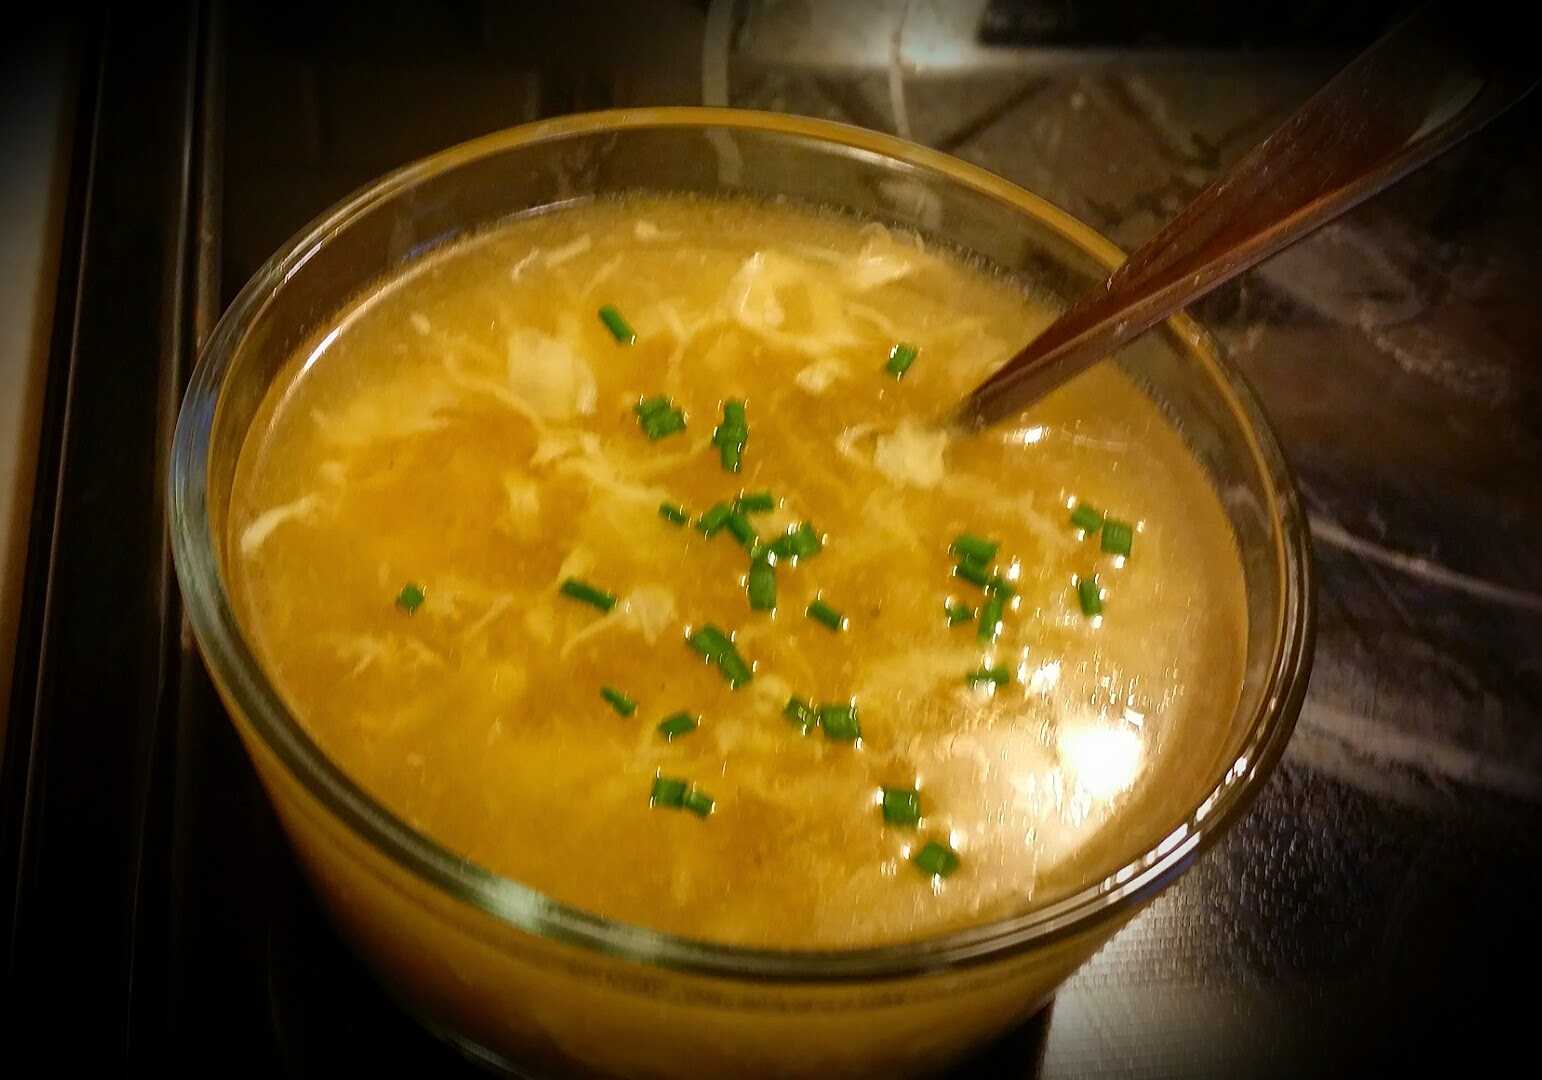
We have one night during the week where we eat up all the leftovers in the refrigerator.  We do this by upgrading leftovers, having a leftover buffet (I got this idea from the Money Saving Mom’s book**), and veggie drawer surprise soup.  Leftover buffet is when you put all the leftovers on the counter in a buffet line.  Everyone gets to put whatever they want on their plate for dinner.  Surprise soup is a pot of soup made out of anything in the refrigerator that has a short shelf life.  (Example, left over turkey and a bell pepper can be mixed in with beans and tomatoes for a chili or hardy soup)   These three significantly reduce food waste.  This is also the night I clean out the refrigerator.  

**you can also listen to it for free with a 30 day audible trial

Example week of meal themes at home 

*Note: I am a participant of the Amazon.com associates program.  This is an affiliate advertising program designed to provide a means for sites to earn advertising fees by advertising and linking to amazon.com.  I have personally purchased or researched all of the products linked and will not suggest a product otherwise.  By purchasing through these links you support this Mini Slice of Farm blog without any extra cost to you and allow us to continue posting great content for you.  Thank you for your support!! 

Lentil soup and financial security

In early 1990 my father decided to open his own business.  It was a small grocery store with a two bedroom apartment on top for us to live in.  I didn’t know it back then but our average income was about $400/month.  When I found that out as an adult I was blown away!!  How could a family of 4 survive on so little?!?!  And how did I not know??  Our table was always full of nutritious food.  We always had nice warm clothes and a spotless house.  We didn’t want for anything … it just didn’t make sense how we could have so much on so little.


Then I really thought about it.  Mom was a grocery shopping, coupon clipping, bargain finding queen.  Standing at the register with her as a little girl I remember she always paid in cash.  She shopped for fresh seasonal ingredients and supplemented lentils and beans for protein a few times a week.  She bought whole chickens and showed me how to break them down to the more expensively packaged “boneless skinless” pieces, how to use every part of the chicken for stock/broth, and how that can make several meals.  She always cooked and never let a drop go to waste.  She would do leftover upgrades and leftover buffets often.  

Lentil soup was a big staple in my childhood and as an adult it brings back great comfort on cold winter days.  It tastes extra special knowing it was one of the many meals that helped build a strong financial foundation for our family.  The recipe below will yield about 10 servings for less than $0.77/serving!!   

Here is my mamma’s yummy Lentil soup recipe… Enjoy 🙂


Ingredients:

  • 2 & 1/2 cup red lintels 
  • 1 medium onion chopped
  • 2 large carrots shredded 
  • 3 Tbls olive oil
  • 1 Tsp cumin 
  • 1/4 Tsp cayenne pepper
  • 6 & 1/2 cups of water (or broth … learn how to make it here)
  • About 1 & 1/2 teaspoon salt (to taste)
  • Sumac (optional) 

Instructions:

  1. Rinse lintels with water and drain (at least twice). 
  2. Sauté onion and carrots in olive oil on med-low heat until translucent (not caramelized, about 3-5min).
  3. Stir in lintels and cumin and stir around to bring out the flavors for about 3 min.
  4. Add the water, and cayenne pepper then cook over medium heat for 30 min.
  5. Add the salt to taste (and more water if its too thick) then cook for another 5min.  
  6. The soup will be ready to eat at this point.  
  7. To make it creamy, a recommended (but optional) step is to purée with an Hand Blender.
  8. To serve, ladle into bowls (optional – sprinkle a little sumac on top for extra flavor)
*Note: I am a participant of the Amazon.com associates program.  This is an affiliate advertising program designed to provide a means for sites to earn advertising fees by advertising and linking to amazon.com.  I have personally purchased or researched all of the products linked and will not suggest a product otherwise.  By purchasing through these links you support this Mini Slice of Farm blog without any extra cost to you and allow us to continue posting great content for you.  Thank you for your support!!

Homegrown Turkey Meatballs

Our free ranged turkeys did really well this year.  They were very low maintenance, and lived off the pasture so didn’t cost us much to maintain.  They also gave us lots of fresh meat …

… here is one of the ways we used the meat for appetizers, Meatballs with a gravy dipping sauce.  These will work in a tomato sauce over pasta as a main course too!  Enjoy 🙂


Ingredients:
2 lbs ground turkey
1/2 medium sweet onion
5 cloves garlic
3/4 cup Italian bread crumbs
1 egg
1 TBS dry sage (or 2 TBS fresh)
1 tsp fresh rosemary
1 tsp fresh thyme
1 tsp salt
1 tsp pepper

Instructions:
Mince the onion and garlic (I run them through the grinder with the turkey).
Finely chop the sage, rosemary and thyme.

Combine all ingredients in a bowl and mix with hands until well incorporated.

Preheat cast iron skillet to 350 degrees. 
Add a small amount of oil to the pan, just enough to coat the bottom. 
Form 1 to 1-1/4 inch meatballs lightly packed and place in hot skillet (don’t overcrowd). 
Cook for about 2 minutes, or until browned and turn over to brown other side. 
Move browned meatballs to a baking dish and finish in a 350 degree oven for 25-30 minutes or until cooked through (165 degrees internal). 


To serve as appetizers add a dipping gravy (recipe can be found here).    


*Note: I am a participant of the Amazon.com associates program.  This is an affiliate advertising program designed to provide a means for sites to earn advertising fees by advertising and linking to amazon.com.  I have personally purchased or researched all of the products linked and will not suggest a product otherwise.  By purchasing through these links you support this Mini Slice of Farm blog without any extra cost to you and allow us to continue posting great content for you.  Thank you for your support!!


Turkey Gravy dipping sauce

This delicious gravy pairs very well as a dipping sauce for our homegrown meatballs.  

You can easily use this as a pour over gravy for potatoes and roast turkey by adding a little more broth to thin it out.  Hope you love it as much as we do!! Enjoy 🙂


Ingredients:

2 TBS butter
2 TBS flour
2-3 cups of broth (you can find the recipe to make your own here)
½ tps rosemary
½ tsp thyme
Salt and pepper to taste

Instructions:
Melt the butter in a saucepan over medium-high heat. 
Add the flour and whisk for 1 minute. 
Whisk in broth, enough to make the gravy a little thinner than you would like it to end up. 
Add the spices and bring down to a simmer. 
Allow to simmer 5 minutes.  Thin with a little more broth if needed. 

Pore into the middle of a decorative serving dish (I use this multi-use serving stand on a daily basis) and arrange the meatballs around the sauce.  

*Note: I am a participant of the Amazon.com associates program.  This is an affiliate advertising program designed to provide a means for sites to earn advertising fees by advertising and linking to amazon.com.  I have personally purchased or researched all of the products linked and will not suggest a product otherwise.  By purchasing through these links you support this Mini Slice of Farm blog without any extra cost to you and allow us to continue posting great content for you.  Thank you for your support!!

How I use kitchen scraps to scrub away cellulite and dry skin!!

Winter always brings on dry skin – everywhere!  I have a go-to body scrub that I use all year long that is hands down better than anything you can get at the store … and it uses kitchen scraps.  
Bonus, it SIGNIFICANTLY reduces cellulite (trust me … when Farmer J notices it MUST be good haha)
Warning: Do not use this scrub before bed!!   Your skin will absorb the caffeine and you will get the same energy kick you get from a strong cup of coffee.

What you will need:
1/4 Cup used coffee grounds
1/3 Cup coconut oil
Fork to mix
Lightly warm up the coconut oil so you can mix in the coffee grounds easily (I use thisglass Pyrex measuring cup and a fork to mix and keep beside the shower.)  Add the coffee ground and mix until the ingredients are fully incorporated and set aside to cool.  When ready to use, scoop out a large spoonful and lightly scrub, concentrating on areas that tend to have more cellulite (I do this in the shower because it can get messy).  Leave the scrub on for about 3 minutes and rinse off with warm water.   Skin will feel smooth and moisturized. 
I do this at least twice a week.


*Note: I am a participant of the Amazon.com associates program.  This is an affiliate advertising program designed to provide a means for sites to earn advertising fees by advertising and linking to amazon.com.  I have personally purchased or researched all of the products linked and will not suggest a product otherwise.  By purchasing through these links you support this Mini Slice of Farm blog without any extra cost to you and allow us to continue posting great content for you.  Thank you for your support!!

How to avoid food waste – leftover upgrade night!!

Last night I made a bone in roast that left us with lots of leftover meat.  It was a prime candidate for leftover upgrade night! 

Everyone loved the leftovers more than the initial meal so I’m sharing the recipe!

Here is how I did it…

How to make the flavorful broth:


In morning before work, I took the bone from last night’s dinner and put it in a crock pot with potatoes, carrots, celery, garlic and onion. I then added salt, pepper, paprika, tumeric and Italian herbs (about half a tsp each) and filled the pot with water.  I set the pot to Low and left for work. 

When we got home the house smells incredible!!   

I then turned the broth into a cream sauce, added in the veggies and leftover meat and we had a fresh meal using last night’s dinner!  Here is how to make the cream sauce


How I completed the leftover upgrade:

I tossed the meat into the cream sauce to heat it up (still on low/med heat).  I then plated the veggies next to the meat and spooned over the sauce. 

It was DELICIOUS … all the plates where completely cleaned and we are officially out of leftovers 🙂

Sweet peach candy fruit rolls – only one ingredient!

Ingredients:
Peaches … yep that’s it!!

The secret is to roast the peaches to release their natural sugars before dehydrating them.  Here is how to do it:

  1. Preheat oven to 375.  
  2. Slice peaches in half and remove pit.  Place peach halves pit side up in a glass baking dish.  Bake for 15min.  
  3. Switch the oven to broil.  Move the peaches under the broiler to roast for another 10 min (monitor peaches so they don’t burn – just looking for a light browning.)
  4. Carefully remove the roasted peaches from the oven and let rest for 10 min.  (The pit cavity might fill with peach juices 
  5. Puree the peaches in a food processor or blender until smooth.  
  6. Spread the puree onto a dehydrator tray that has the fruit leather liner (smaller holes so the puree will not fall through).  use an offset spatula or the back of a spoon to smooth out the puree into an even layer (about 1/4 inch in thickness). 
  7. Set the dehydrator to 140°F and allow the fruit to dry for 8 to 10 hours.
  8. Peel the fruit leather off of the tray and slice long strips with a pizza cutter.
  9. Roll strips and place in an airtight container for storage.