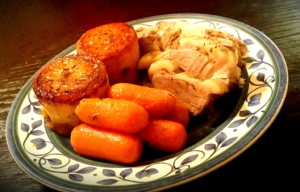
The hardest thing about these carrots is keeping them from stealing the show at dinner time! They pair really well with braised or smoked meat dishes but they can be served with almost anything.
Welcome back to the mini farm!
We had normal loaded nachos planned for Tuesday night’s dinner … but I wanted to experiment with a few additions (and I got a fun new crockpot for dips a few weeks ago so really wanted to break it in LOL)
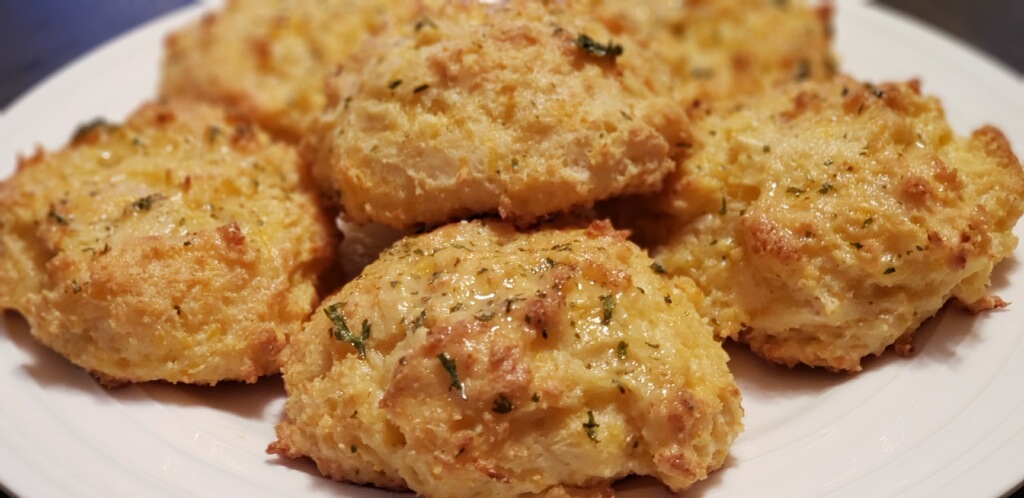
Continue reading “Red Lobster Cheddar Bay Biscuit Copycat Recipe”
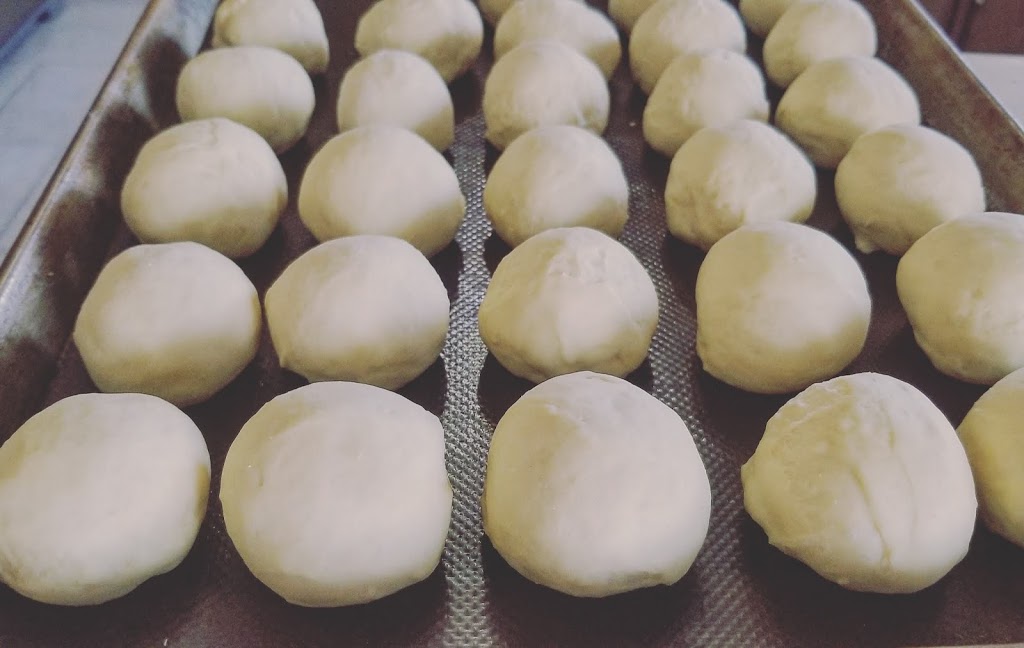
These sweet rolls double up as amazing slider buns! Here is the full recipe:
Continue reading “Easy Slider Rolls”
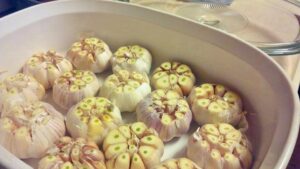
Roasted garlic adds amazing flavor to recipes and dips. Our favorite way to use it is whipped into grass fed butter to spread on toasted french bread! YUM!
Here is an easy way to do it …
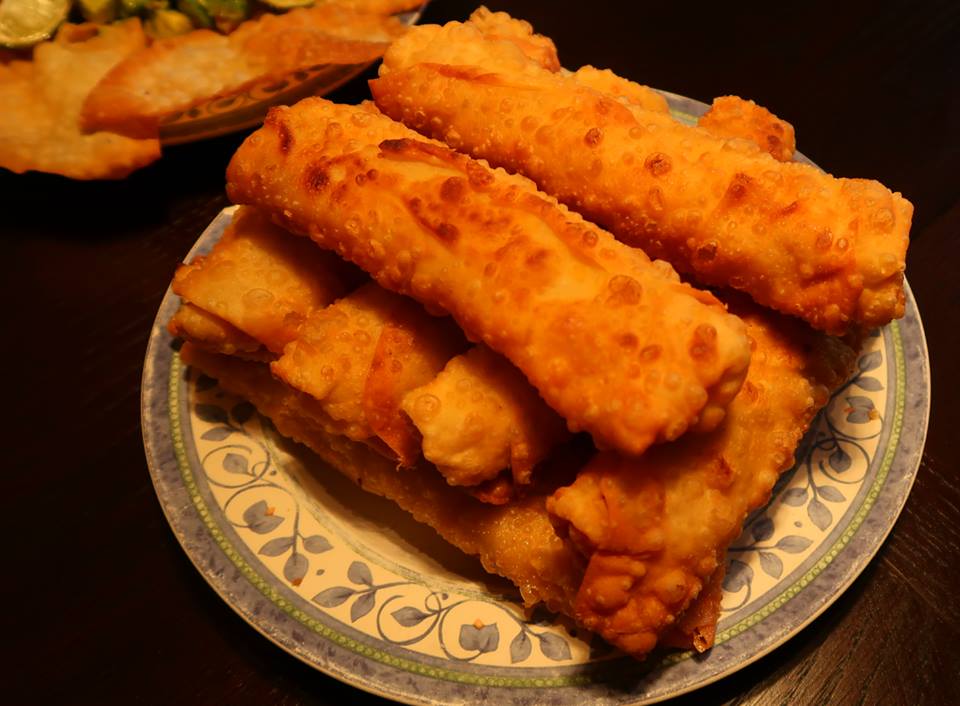
Homemade tortillas are the delicious … homemade tortillas that turn into chimichangas are AMAZING ❤
We made these incredible golden fried treats last weekend and posted pictures of it in our private Facebook group (click here to join our Stocking our Shelves group) . You guys asked for the recipe so here it is ?
Ingredients:
For the tortillas:
For the filling:
Equipment:
Directions:


 |
| ^^To pin this recipe for later click here^^ |
*Note: I am a participant of the Amazon.com associates program. This is an affiliate advertising program designed to provide a means for sites to earn advertising fees by advertising and linking to amazon.com. I have personally purchased or researched all of the products linked and will not suggest a product otherwise. By purchasing through these links you support this Mini Slice of Farm blog without any extra cost to you and allow us to continue posting great content for you. Thank you for your support!!

It’s been a snowy cold start to the year!! So we decided to warm up with some hot coco and homemade marshmallows. Made with grass fed beef gelatin that is great for your skin, hair, digestion and joints, these little treats are much better than the bagged puffs of oil and sugar from the store. Here is how we made them …
|
| ^^To pin this recipe for later click here^^ |
*Note: I am a participant of the Amazon.com associates program. This is an affiliate advertising program designed to provide a means for sites to earn advertising fees by advertising and linking to amazon.com. I have personally purchased or researched all of the products linked and will not suggest a product otherwise. By purchasing through these links you support this Mini Slice of Farm blog without any extra cost to you and allow us to continue posting great content for you. Thank you for your support!!

We’re finally back from maternity leave!! Excited to share what we have been up to and our new recipes with you ♥
Our newest addition is now 4 months old and full of smiles

Thank you for all the well wishes while we were away!! Now on to the food!!!
Farmer J is a huge Thai and curry fan. He makes the most delicious dishes using some yummy ingredients. Earlier this week he made a Massaman curry using rabbit. This dish will work with Chicken or turkey as well.
Ingredients:
• 1 pound rabbit meat cubed
• 2 large potatoes, cut into chunks
• 2 large carrots, sliced
• 2 cups chicken broth
• 1 14 -ounce can coconut milk
• 3 Tbls coconut oil OR vegetable oil
• 1 large shallot, sliced
• 2” piece fresh ginger, minced
• 4 large cloves garlic minced
• 1 stalk lemongrass, minced
• 3 kaffir lime leaves
• 1 teaspoon turmeric
• 1 tsp ground coriander
• 1/2 tsp ground cumin
• Zest and juice of ½ lime
• ¼-1 tsp red pepper flakes to your desired spiciness
• 1 Tbls red curry paste
• 1/4 cup chopped dry-roasted cashews
• Cilantro, additional cashews and the other half lime for garnish
*Notes: Many recipes call for fish sauce, of which I intended to add 3 Tbls. I forgot to add it and the flavors were perfectly wonderful without it. Also, if you cannot find kaffir leaves, you could substitute bay leaves.
 |
| ^^To pin this recipe for later click here^^ |
*Note: I am a participant of the Amazon.com associates program. This is an affiliate advertising program designed to provide a means for sites to earn advertising fees by advertising and linking to amazon.com. I have personally purchased or researched all of the products linked and will not suggest a product otherwise. By purchasing through these links you support this Mini Slice of Farm blog without any extra cost to you and allow us to continue posting great content for you. Thank you for your support!!
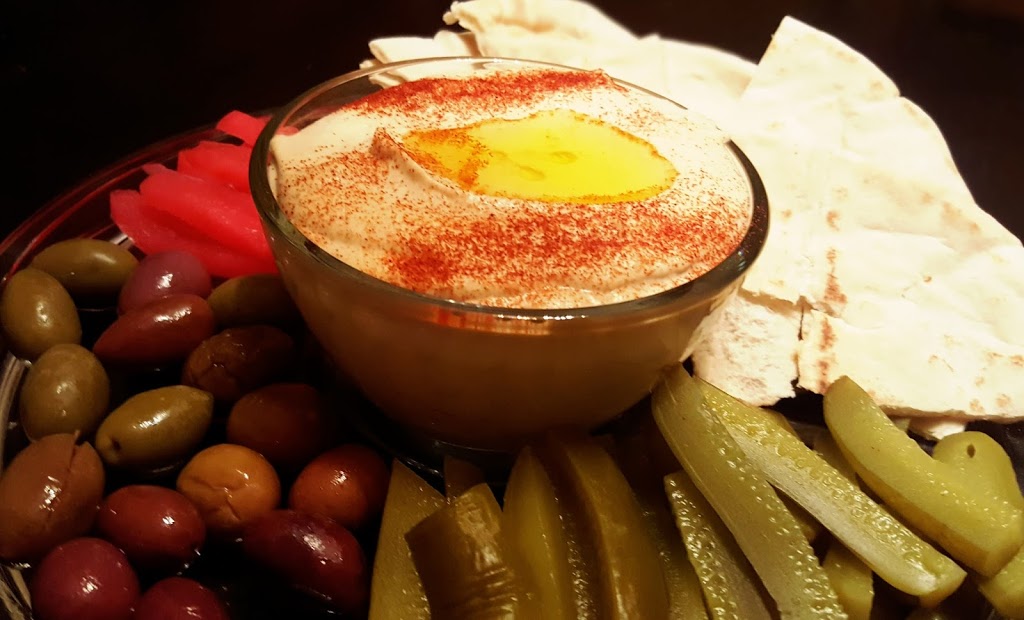
Over the years we’ve perfected our hummus recipe. It is so simple but incredibly delicious.
Ingredients:
For top:
You will also need
Blender or food processor.
Instructions:
|
| ^^To pin this hunnus recipe for later click here^^ |
*Note: I am a participant of the Amazon.com associates program. This is an affiliate advertising program designed to provide a means for sites to earn advertising fees by advertising and linking to amazon.com. I have personally purchased or researched all of the products linked and will not suggest a product otherwise. By purchasing through these links you support this Mini Slice of Farm blog without any extra cost to you and allow us to continue posting great content for you. Thank you for your support!!
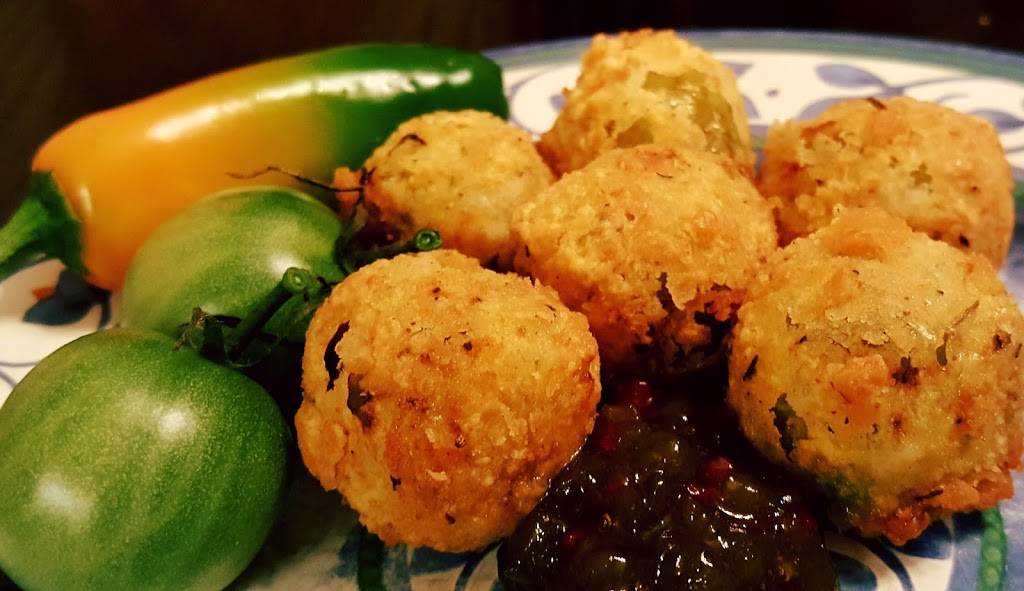
Station 3:
|
| ^^To pin this Fried Green Cherry Tomato Jalapeno Popper recipe for later click here^^ |
*Note: I am a participant of the Amazon.com associates program. This is an affiliate advertising program designed to provide a means for sites to earn advertising fees by advertising and linking to amazon.com. I have personally purchased or researched all of the products linked and will not suggest a product otherwise. By purchasing through these links you support this Mini Slice of Farm blog without any extra cost to you and allow us to continue posting great content for you. Thank you for your support!!