**To Pin this menu plan for later use the “Pin it” button at the end of the instruction section**

Coming up this Week (Nov 20th-26th):
- Sunday, Broccoli cheddar soup with homemade bread (recipe here)
- Monday, Turkey burgers on homemade buns and crispy oven fries (recipe here)
- Tuesday, Turkey meatballs (recipe here) in tomato sauce on spaghetti (and speghetti squash for mom 🙂 … instructions on how I prepare it here)
- Wednesday, Leftover buffet and baking day
- Thursday, Our second big family thanksgiving dinner of the season!
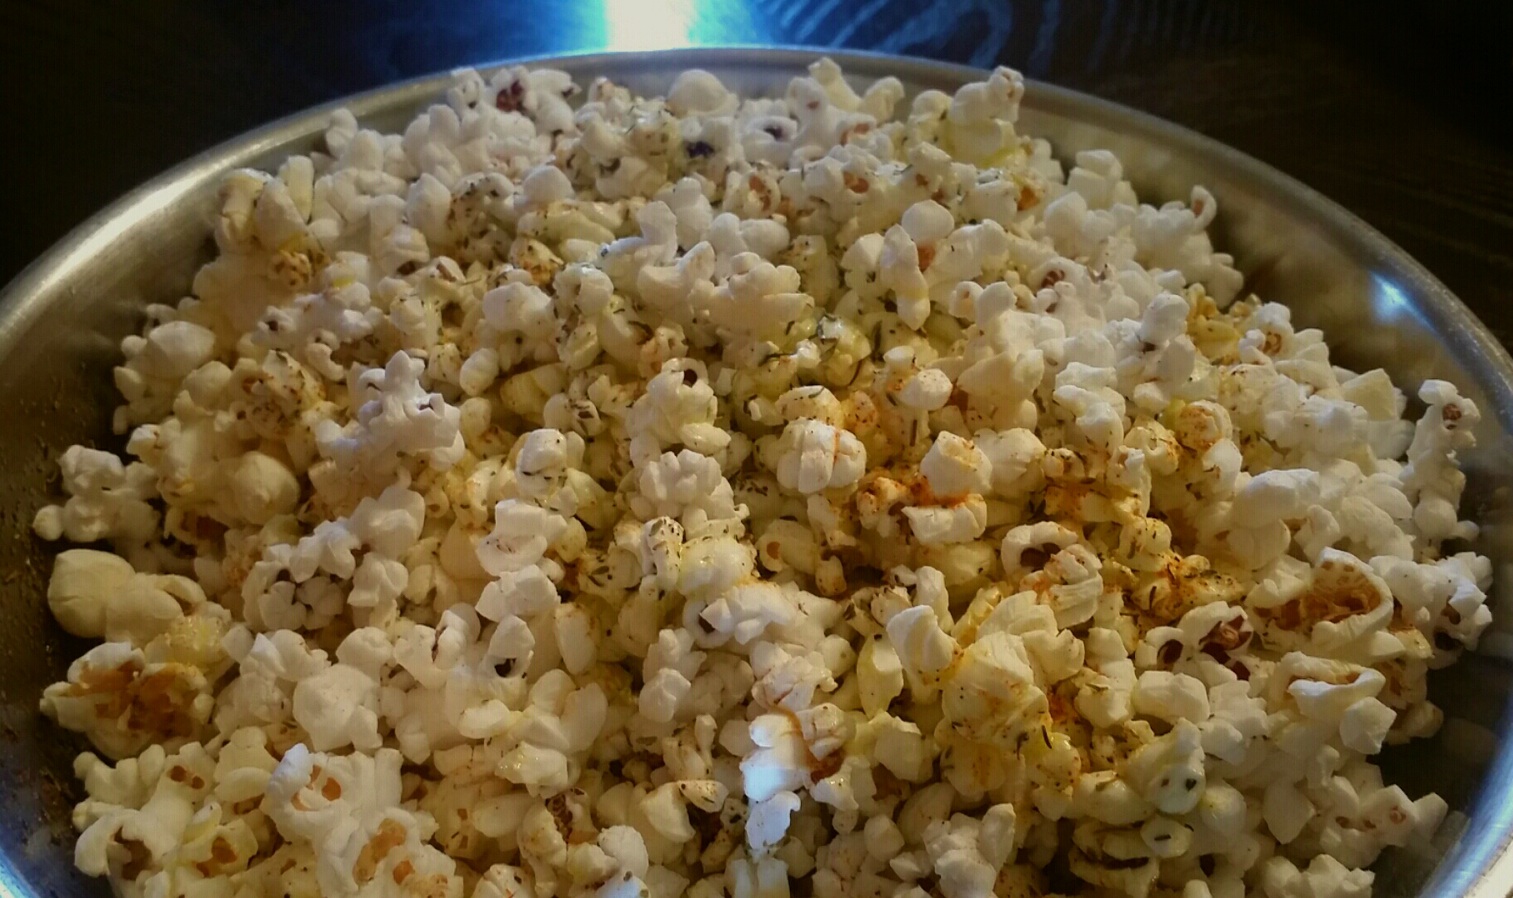
- Friday, Eggnog, peppermint popcorn, Christmas cookies and finger food w/ holiday movies
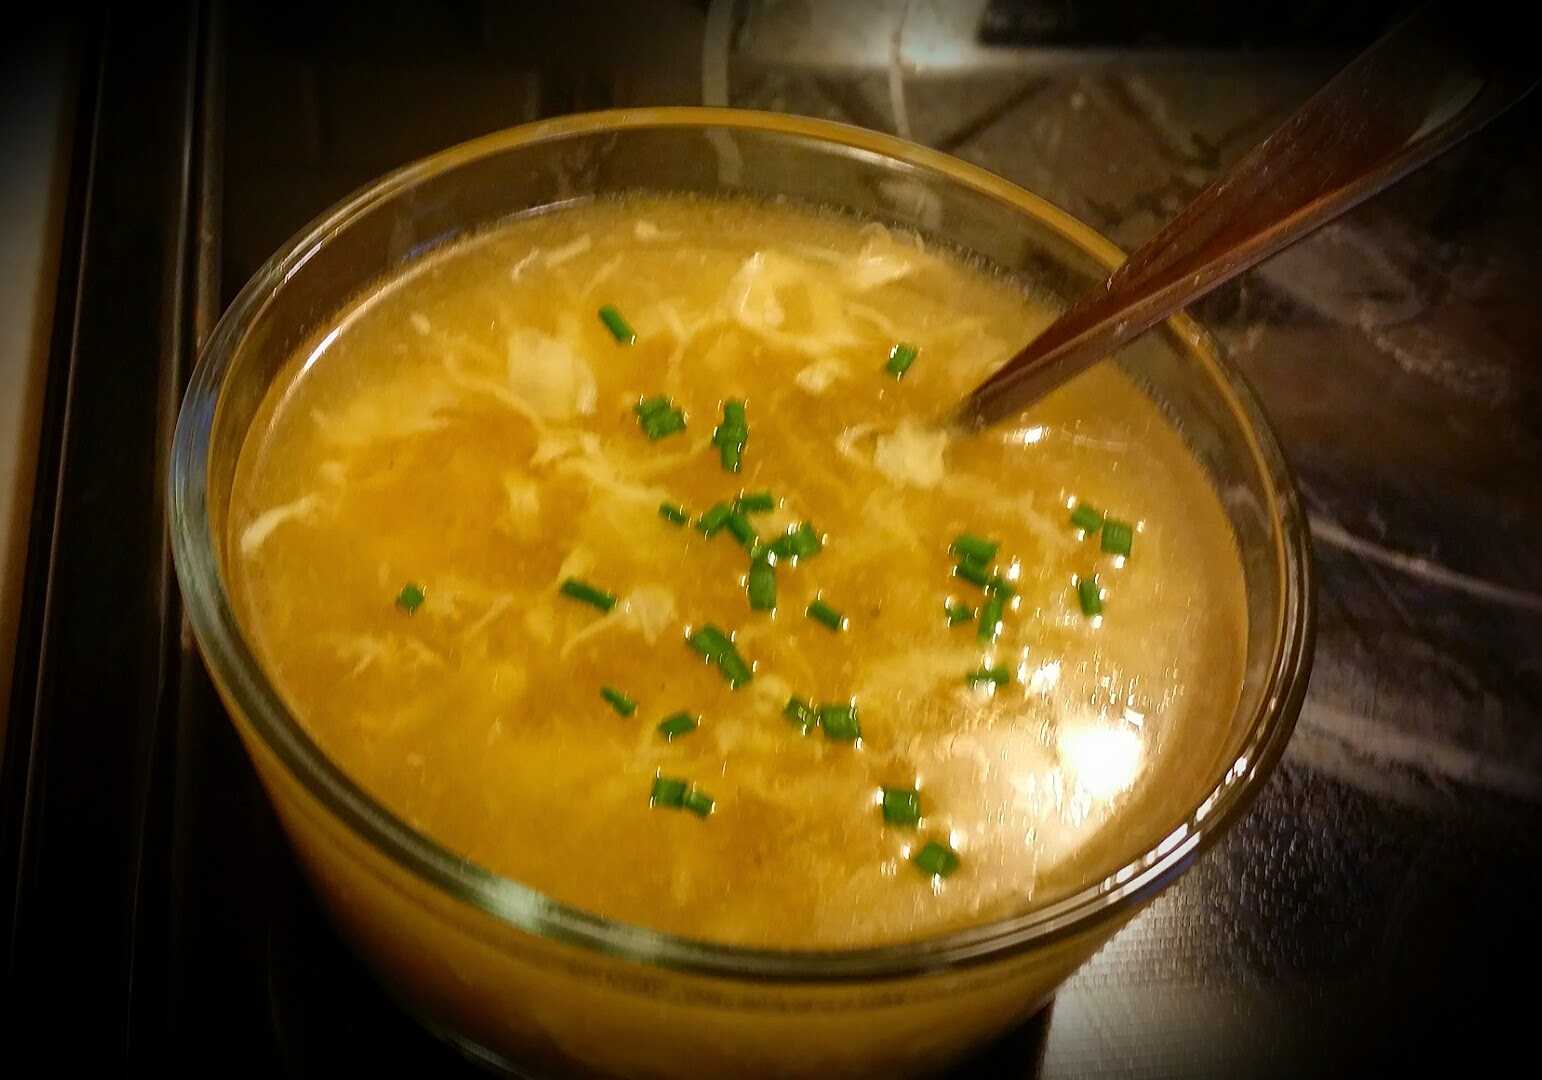
- Saturday, Turkey dumpling soup
Review of last Week (Nov 13th-19th):
- Sunday, Veggie turkey rice – this is a quick go to meal that is ready in less than 25min!! Please let me know if you would like the recipe in the comments below 🙂
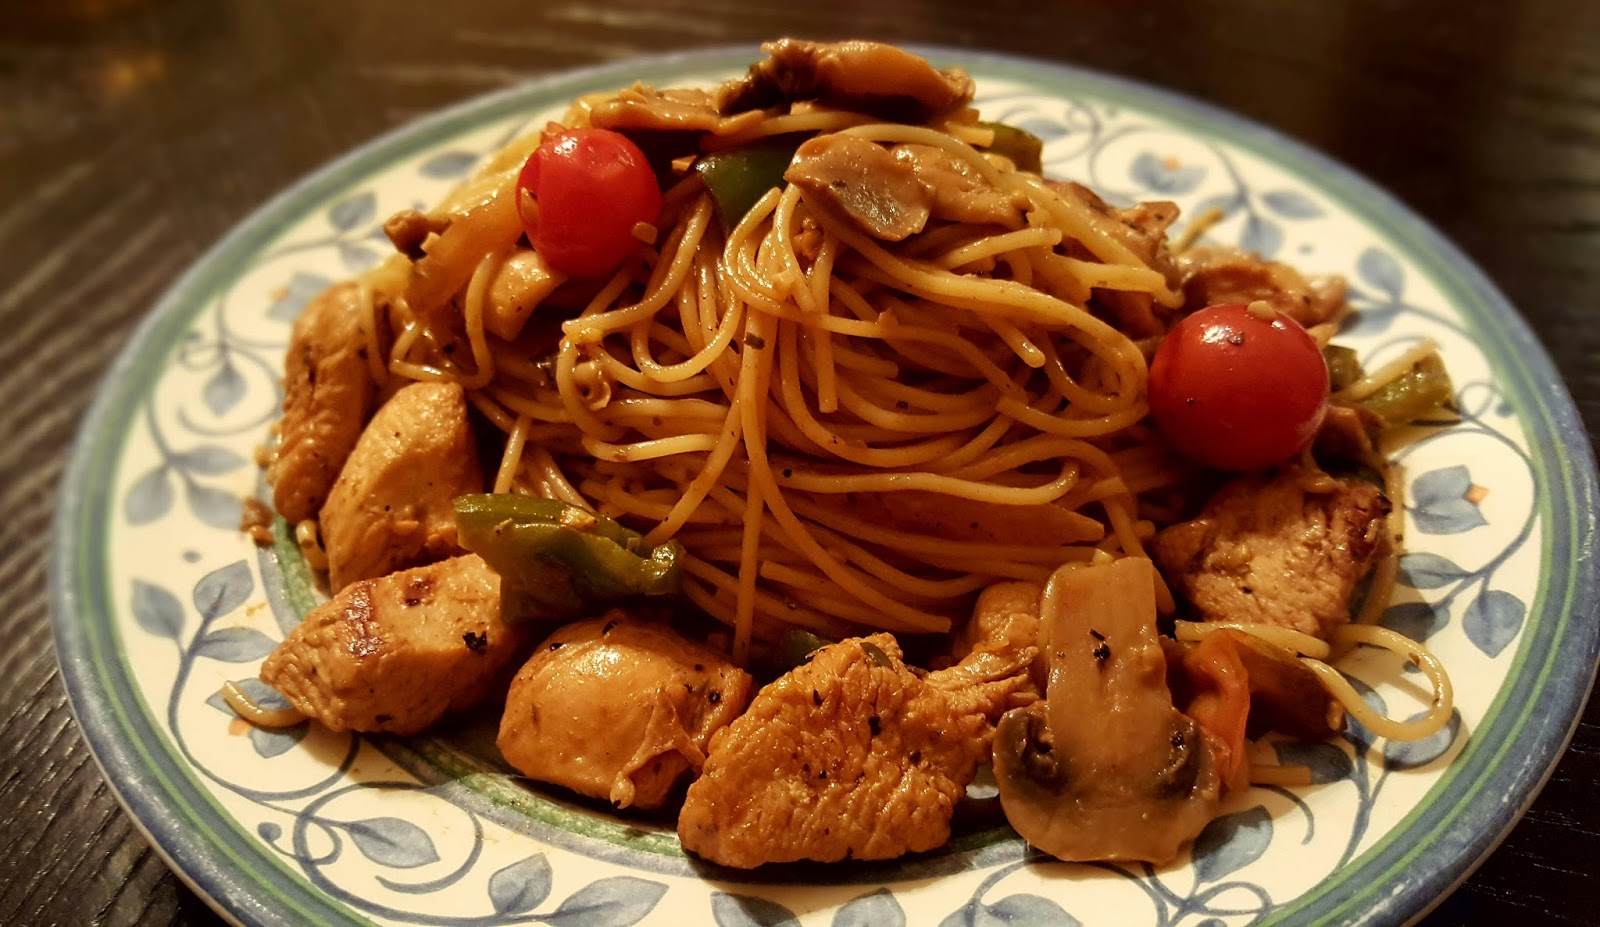
- Monday, Lemon pepper turkey breast on angel hair pasta – Sooooo yummy! We typed up the recipe (here) and will definitly be making this again!

- Tuesday, Homemade Chipotle bowls – So.Much.FOOD …. we were all so full and had lots of leftovers! yummy beans and rice for the win 🙂 Pictured above is my bowl that included Guacamole (recipe here), corn salsa, pico de gallo, black beans and lettuce. Farmer J and the kids added lemon cilantro rice, chipole turkey, sour cream and shredded cheese.
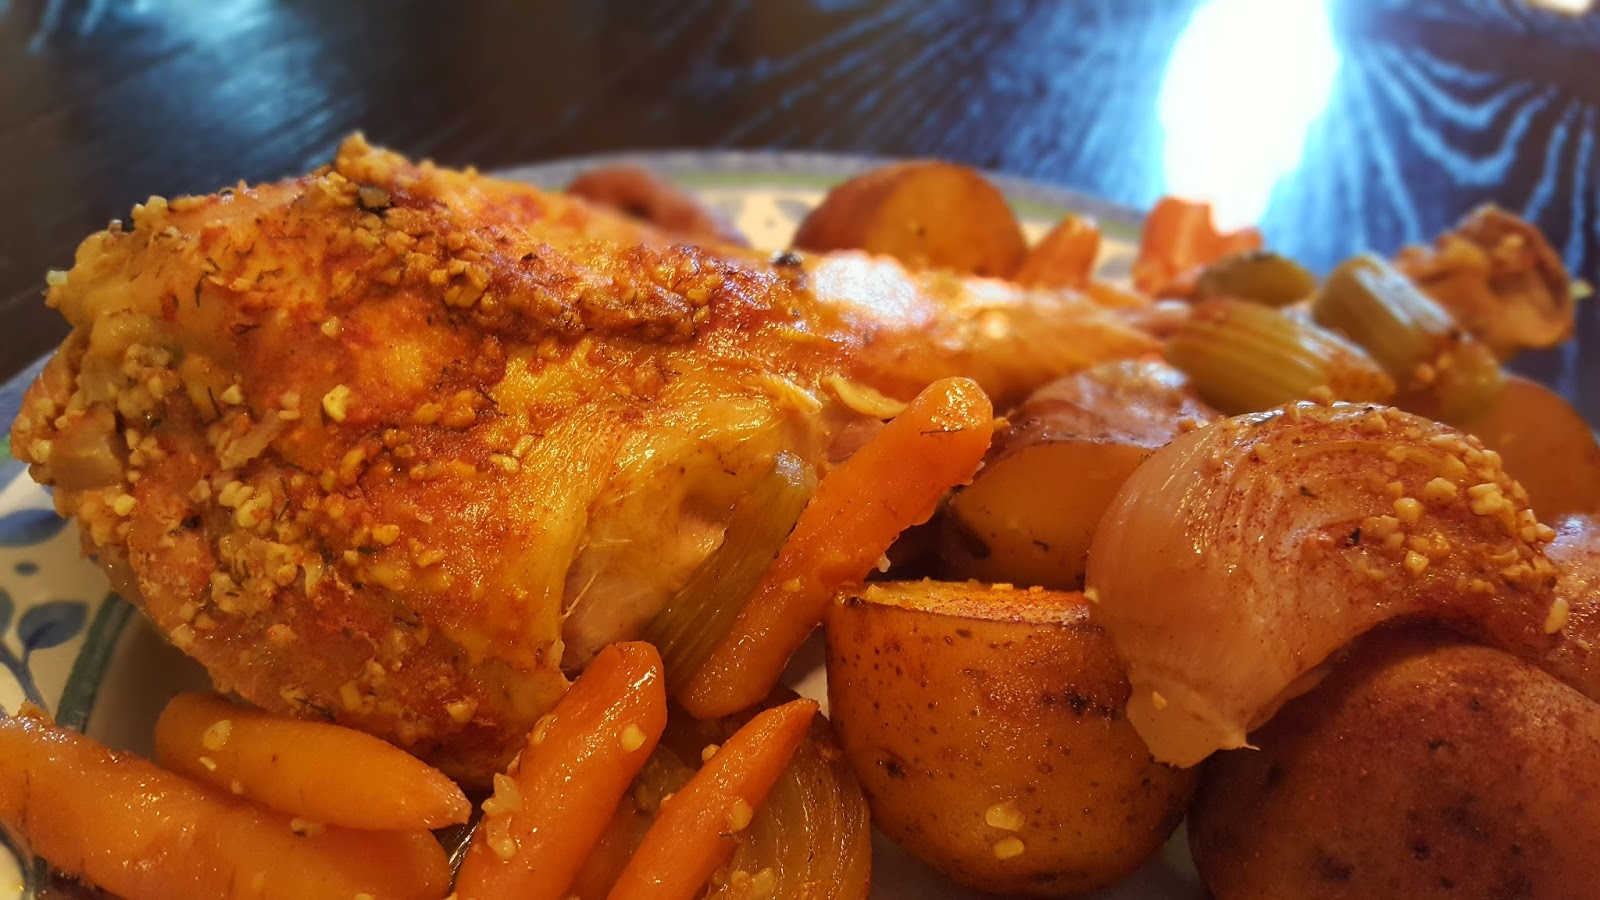
- Wednesday, Garlic and herb roasted turkey drumsticks with roasted veggies (recipe here) – These are by far my favorite of the week! They were fall apart delicious!!

- Thursday, Steak, cheese and mushroom sandwiches with homemade fries – We baked some fresh baguettes using natural yeast, then turned them into sandwiches with steak, sauteed onions/mushrooms, cheese, and homemade mayo. *Edit*I got lots of questions about the pan pictured above. Its actually an insert you put onto your cookie sheet. You can find it here (affiliate)
- Friday, Leftover buffet and FMFN – Family Movie Fun Night is our most favorite night of the week!! We do leftover buffet, games and a movie picnic. More info in the “Bring dinner home again” post click here to see it.
- Saturday, Our first big family thanksgiving dinner of the season!
 |
| ^^To pin this week’s menu plan and recipes click here^^ |
*Note: I am a participant of the Amazon.com associates program. This is an affiliate advertising program designed to provide a means for sites to earn advertising fees by advertising and linking to amazon.com. I have personally purchased or researched all of the products linked and will not suggest a product otherwise. By purchasing through these links you support this Mini Slice of Farm blog without any extra cost to you and allow us to continue posting great content for you. Thank you for your support!!